Complete Guide to Button Mushroom Cultivation
Introduction
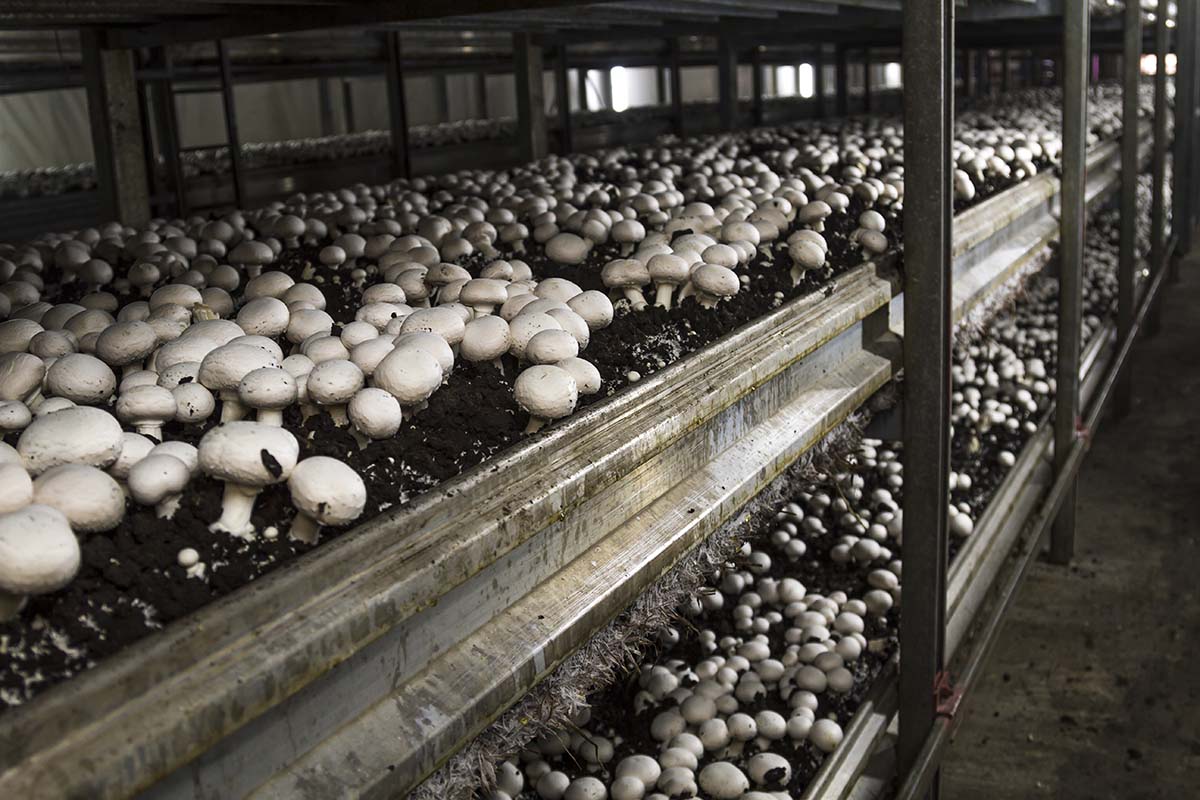
Agaricus bisporus, commonly known as the button mushroom, represents one of the most commercially significant fungal species worldwide. This guide outlines precise cultivation methods optimized for home growers, addressing each critical phase from substrate formulation through harvest.
For beginners seeking immediate results without substrate preparation, quality button mushroom growing are a great alternative as a simplified entry point.
Button Mushroom Biology
Button mushrooms follow a predictable growth cycle beginning with microscopic spores that germinate into thread-like mycelium. This mycelial network eventually forms primordia (pins) that develop into mature fruiting bodies.
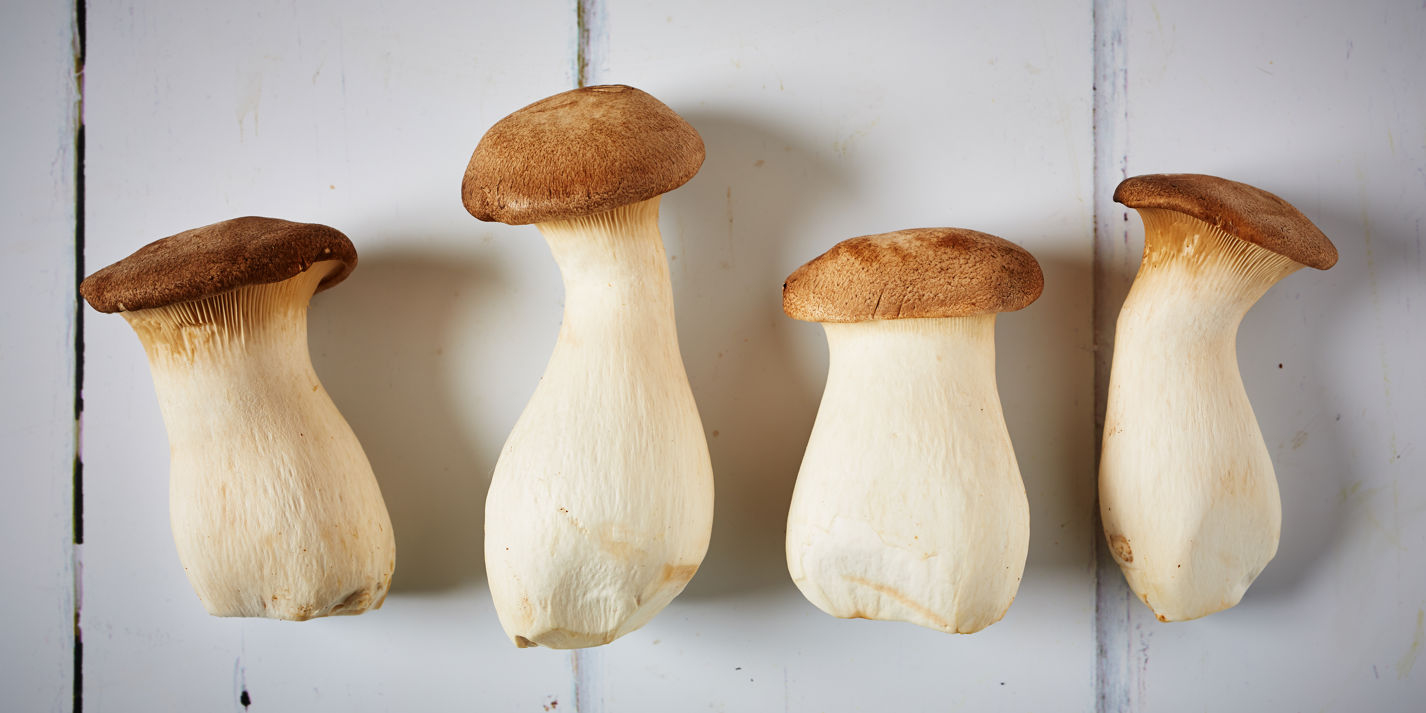
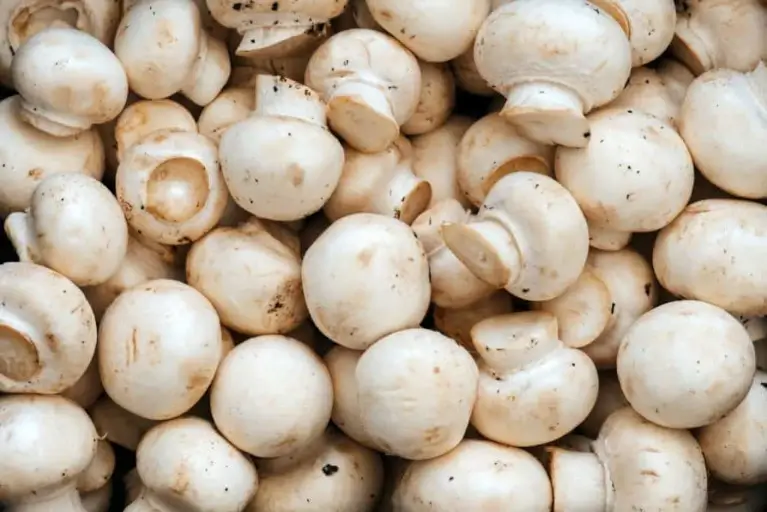
The white button, cremini (brown), and portobello varieties all belong to the same species, differentiated primarily by maturity and genetic strain.
Their nutritional profile includes significant quantities of B vitamins, potassium, selenium, and copper, with minimal caloric content.
Button Mushroom Growing Kits: An Easy Method for Beginners
For those new to mushroom cultivation, starting with a button mushroom growing kit can be an excellent way to dip your toes into the fascinating world of fungi without the complexity of starting from scratch. These kits come equipped with everything you need, including a pre-inoculated substrate with mushroom spawn, making the process straightforward and rewarding.
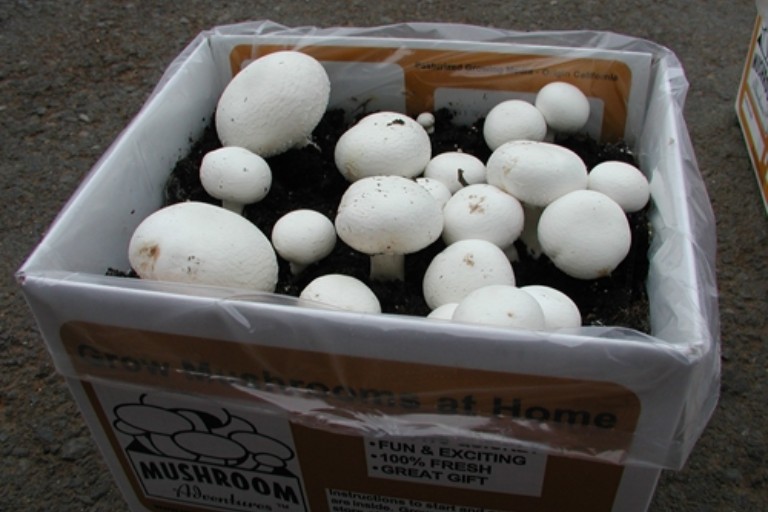
Here's an easy to use and beginner-friendly button mushroom growing kit that you can purchase off of Amazon:
Button mushroom growing kits offer several advantages for beginners:
- Simplicity: No need to prepare substrates or inoculate spawn; everything is ready to go.
- High Success Rate: Kits are designed for ease of use and high yield, making your first foray into mushroom growing likely to succeed.
- Educational Value: They provide a hands-on learning experience about the lifecycle and needs of mushrooms.
Using a growing kit, beginners can focus on the basics of mushroom care, such as maintaining the right temperature, humidity, and light conditions, without the initial complexity of substrate preparation and inoculation.
Cultivation Requirements
The successful cultivation of button mushrooms depends on precise environmental control throughout each growth phase.
During spawn run, maintain temperatures between 24-26°C with relative humidity at 85-90% and minimal air exchange. The CO₂ concentration should remain elevated (5,000-20,000 ppm), with no light requirement.
For pinning, reduce temperature to 18-20°C while increasing humidity to 90-95%. Simultaneously decrease CO₂ to 1,000-2,000 ppm and introduce minimal indirect light.
The fruiting stage requires further temperature reduction to 16-18°C, humidity of 85-90%, and significantly increased air exchange (4-8 room volumes per hour). CO₂ must remain below 1,000 ppm with moderate indirect lighting (200-500 lux).
Critical parameters for each growth stage:
Substrate Preparation
Materials
The foundation of successful mushroom cultivation lies in proper substrate preparation. Required materials include:
- 10 kg wheat straw (chopped to 3-5 cm lengths)
- 2 kg poultry or horse manure
- 1 kg gypsum (calcium sulfate)
- 0.5 kg agricultural lime (calcium carbonate)
- Water (pH 7.0-7.5)
Composting Process
Phase I composting begins by thoroughly wetting the straw to achieve 65-75% moisture content before incorporating the remaining ingredients uniformly throughout the mixture.
Stack the mixture in a pile approximately 1.5 meters high by 1.5 meters wide. Turn the pile every 2-3 days over a 14-day period, maintaining internal temperatures between 65-80°C.
Properly composted substrate develops a dark brown coloration, soft texture, and distinct ammonia odor.
Transfer the material to an enclosed space for Phase II composting. Maintain 50°C and 90% humidity for 7 days, gradually reducing temperature to 25°C over the final 48 hours.
The completed substrate should register a pH of 7.5 ± 0.2 with neutralized ammonia content.
Testing Substrate Readiness
Verify substrate readiness through these simple tests:
- Squeeze test: Properly prepared material should release only a few water drops when compressed
- Texture test: Substrate should break easily without becoming mushy
- Ammonia test: No ammonia presence when tested with pH paper
Spawning
Materials and Preparation
Successful inoculation requires:
- Commercial button mushroom spawn (2.5-5% by substrate weight) {For optimal genetic quality and contamination resistance, source spawn from established suppliers with verified cultivation success rates.
- Sterilized containers or bags
- 70% isopropyl alcohol
- Latex gloves and face mask
Prepare a sanitized workspace using 70% isopropyl alcohol on all surfaces, and use latex gloves and a face mask to prevent contamination. The substrate must cool to 25°C before introducing spawn.
Inoculation Process
Break spawn into small, evenly-sized pieces and integrate thoroughly with the substrate, building layers 5-7 cm thick. Maintain moisture content at 65-70% throughout the mixture.
Pack the spawned substrate into containers or bags at a depth of approximately 20 cm to provide adequate mass for mycelial development.
Incubation Conditions
Incubation requires 14-21 days at 24-26°C in complete darkness. During this period, CO₂ accumulation benefits mycelial growth, so air exchange should be minimized.
Monitor the substrate regularly for white mycelial growth, which should eventually permeate the entire mass. Complete colonization provides the foundation for subsequent cultivation phases and significantly impacts final yields.
Casing Layer Application
Function and Materials
The casing layer serves critical functions in moisture retention, microclimate formation, and pinning stimulation.
Prepare this layer using:
- 5 parts peat moss (pH adjusted to 7.5 with lime)
- 1 part vermiculite
- 1 part perlite (optional)
- Calcium carbonate (agricultural lime)
Mix thoroughly before pasteurizing at 65°C for 1 hour, then cool to room temperature. Adjust moisture content to 65-70% before application.
Application Technique
Apply the casing material in a uniform 3-5 cm layer across the colonized substrate, taking care not to compress the material. Lightly mist the surface to maintain optimal moisture levels without saturation.
During the case run period, maintain temperatures between 21-24°C with relative humidity at 90-95% for 5-7 days.
This period allows mycelium to penetrate approximately one-third of the casing depth, establishing the foundation for productive fruiting.
Fruiting Conditions
Temperature Management
Transitioning to fruiting conditions requires gradual temperature reduction to 16-18°C. Implement a 2°C daily decrease to avoid shocking the mycelium.
Air Exchange and CO₂
Simultaneously increase fresh air exchange to 4-8 room volumes per hour while maintaining CO₂ below 1,000 ppm. Use filtered air where possible to minimize contamination risks.
Moisture Control
Moisture management becomes particularly critical during this phase. Mist the casing layer to maintain 90% surface humidity but avoid directly spraying developing primordia.
Proper humidity management ensures that water droplets evaporate within 3-4 hours of application.
Light Requirements
Introduce indirect lighting (200-500 lux) on a 12-hour cycle to stimulate proper fruiting body formation.
Primordia Development
Primordia typically appear 7-10 days after casing application as small white or cream-colored dots on the casing surface.
As these pins develop, gradually reduce misting frequency while maintaining ambient humidity. Temperature stability becomes increasingly important during this developmental stage—fluctuations can cause significant yield reductions or deformities in the developing mushrooms.
Harvesting and Post-Harvest
Optimal Harvest Timing
Harvest button mushrooms when caps reach 3-5 cm in diameter with the veil intact and not stretched, typically 18-21 days after casing application.
Harvesting Techniques
Remove mushrooms using one of these methods:
- Gently twist and pull upward to extract the entire fruiting body
- Use a sterile knife to cut at substrate level
Take care to avoid removing substrate material with harvested mushrooms, as this can damage future flushes.
Flush Cycles
The first harvest period typically extends over 3-5 days, with subsequent flushes producing progressively lower yields.
Between flushes, maintain fruiting conditions and lightly irrigate the casing layer to restore moisture content. Remove any discolored or diseased mushrooms promptly.
Expect a 7-10 day rest period between productive flushes.
Storage Methods
Store harvested mushrooms at 1-2°C with 85-90% relative humidity using paper bags or breathable containers. Avoid plastic bags, which promote condensation and accelerate deterioration.
Properly stored button mushrooms maintain quality for 7-10 days post-harvest.
Troubleshooting Common Issues
Growth Problems
Poor mycelial growth typically results from improper temperature conditions or contamination. Verify temperature parameters and inspect for mold presence. Increasing spawn rate can sometimes overcome minor contamination issues.
When mushrooms fail to initiate, insufficient moisture or improper gas exchange often represents the underlying cause. Verify casing moisture content (optimally 65-70%) and increase fresh air circulation.
Mushroom Defects
Undersized mushrooms generally indicate suboptimal humidity levels or excessive CO₂. Maintain relative humidity above 85% and improve ventilation to address these issues.
Cap deformities frequently result from temperature fluctuations or insufficient light—stabilize temperature and provide consistent indirect illumination to correct these problems.
Common Contaminants
Common contamination issues and solutions:
Sanitation Protocols
Implement rigorous sanitation protocols throughout the cultivation process:
- Use 70% isopropyl alcohol for tool sterilization
- Wear clean clothing and gloves during handling
- Maintain a dedicated cultivation area separate from other household activities
Daily monitoring of temperature, humidity, and visual inspection for contaminants significantly reduces cultivation failures.
Yield Expectations
Properly managed cultivation typically produces yields as follows:
- First flush: 15-20% of wet substrate weight
- Second flush: 7-10% of wet substrate weight
- Third flush: 3-5% of wet substrate weight
Total production across all flushes typically ranges from 25-35% of initial wet substrate weight.
Advanced Techniques
Spawn Production
Advanced cultivators may explore spawn production using rye, wheat, or millet grains:
- Soak grains for 12-24 hours to achieve 45-50% moisture content
- Supplement with 1% gypsum and 0.2% calcium carbonate by weight
- Sterilize at 15 PSI (121°C) for 90 minutes
- Inoculate with button mushroom culture
- Incubate at 24°C for 14-21 days until fully colonized
Substrate Supplementation
Substrate supplementation offers yield enhancement opportunities:
- Add 5-10% cottonseed meal or 3-5% soybean meal after pasteurization when substrate temperature drops below 30°C
- Calcium carbonate supplementation (0.5% by weight) improves substrate structure
- Gypsum (1% by weight) prevents excessive clumping
- Apply delayed-release nutrients at casing to increase productivity in later flushes
Conclusion
Successful button mushroom cultivation requires methodical environmental control and meticulous attention to substrate preparation.
By following the technical parameters outlined in this guide, cultivators can maximize production efficiency while minimizing common cultivation problems.
Strict adherence to sanitation protocols throughout the cultivation process provides the foundation for consistent, high-quality harvests.